
 Starting Seeds at Home Take Home Points:
- Start with a good seed starting soil-less media which would include peat moss, vermiculite, and perlite.
- Pay attention to the planting depth of your seeds and cover lightly if necessary.
- Maintain a constant heat and humidity level around the germinating plants. This will ensure quick and even germination.
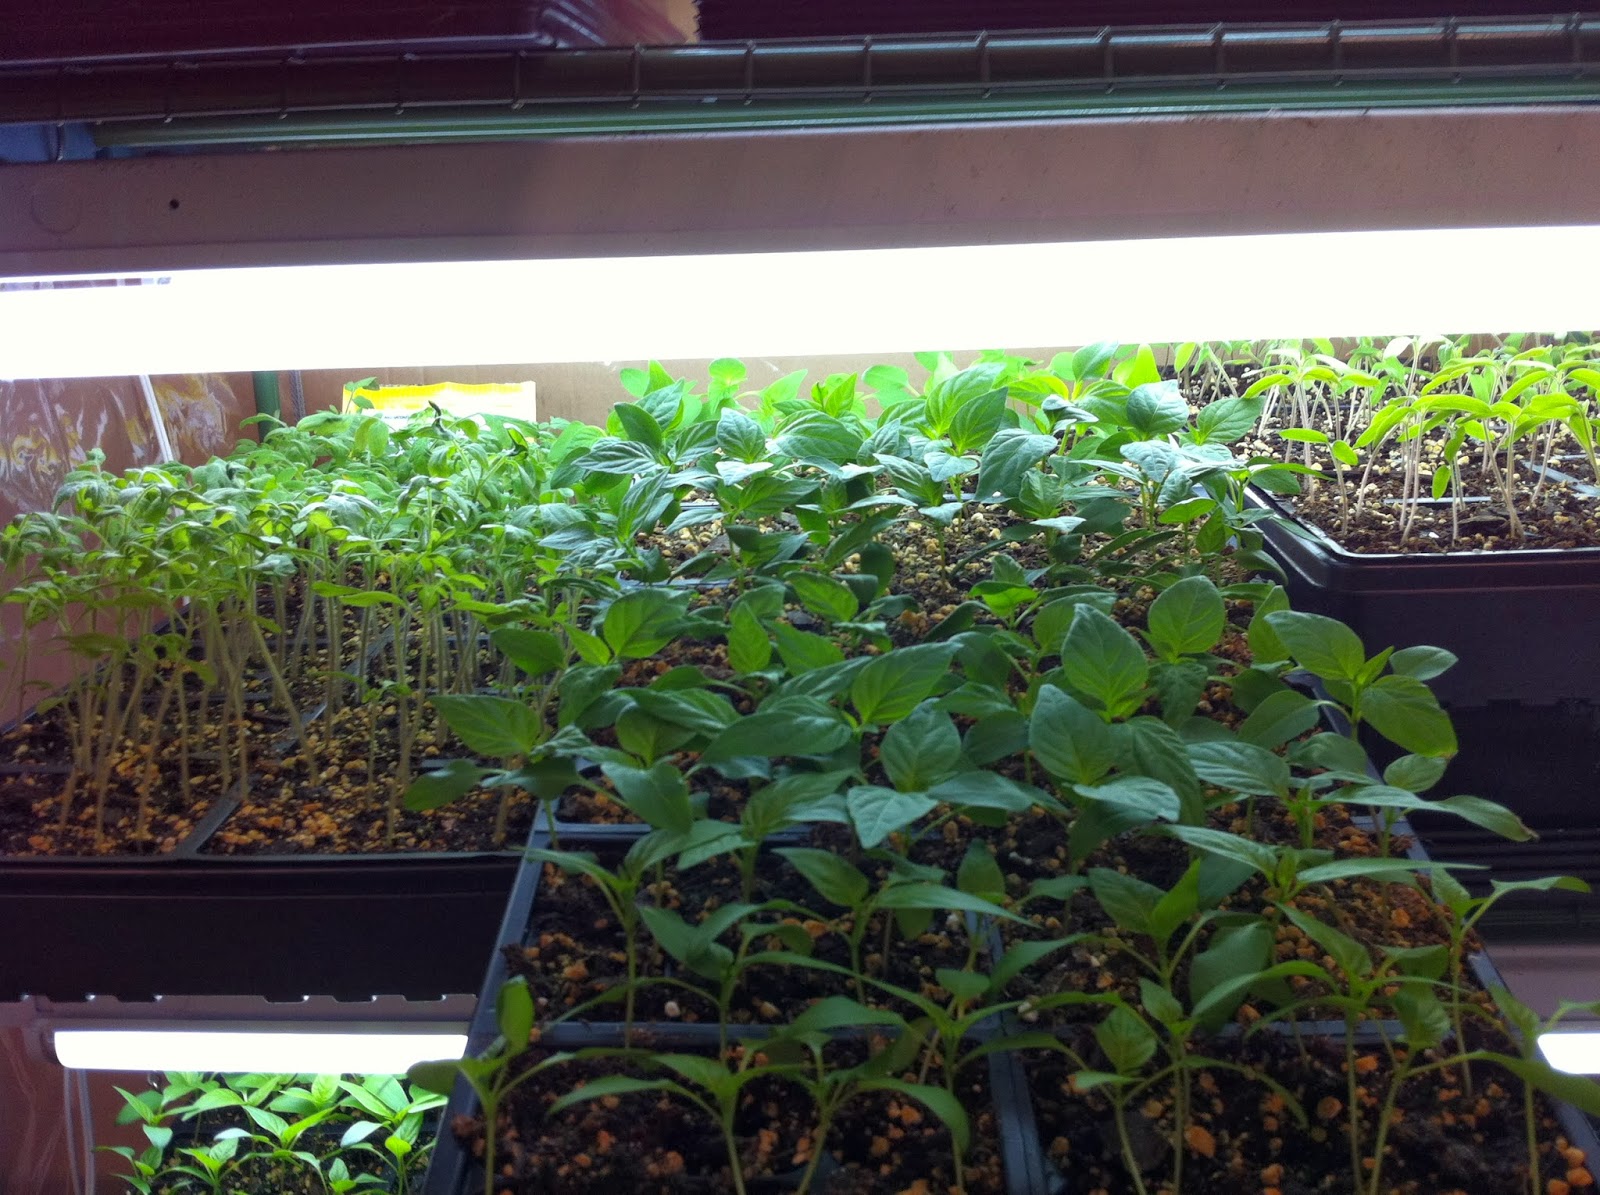
- Lighting is very important. Regular Bright light Fluorescent bulbs will provide a very desirable visible spectrum for plant growth. They are as good or better than the so called plant grow bulbs. Do not use incandescent, too much heat, and not enough usable light spectrum.
- Lighting should remain on throughout the germination phase and as long as they are grown inside. A 16 hour cycle of lighting will be best and the light should remain 2 to 3 inches above the plant canopy while grown indoors for optimum growth.
- Air circulation is very important after germination for two reasons; it helps to reduce disease problems and it also helps to strengthen the stems.
- A soil thermometer will help you gauge temperature levels in the seed starting area. Different plants prefer different temps but as a general rule between 70 and 80 degrees will suffice.
- Light fertilization should begin shortly after germination and as a general rule begin with a halved rate of fertilize based on the indoor plant feeding directions found on the back of your choice of soluble fertilize.